Let's do it together!
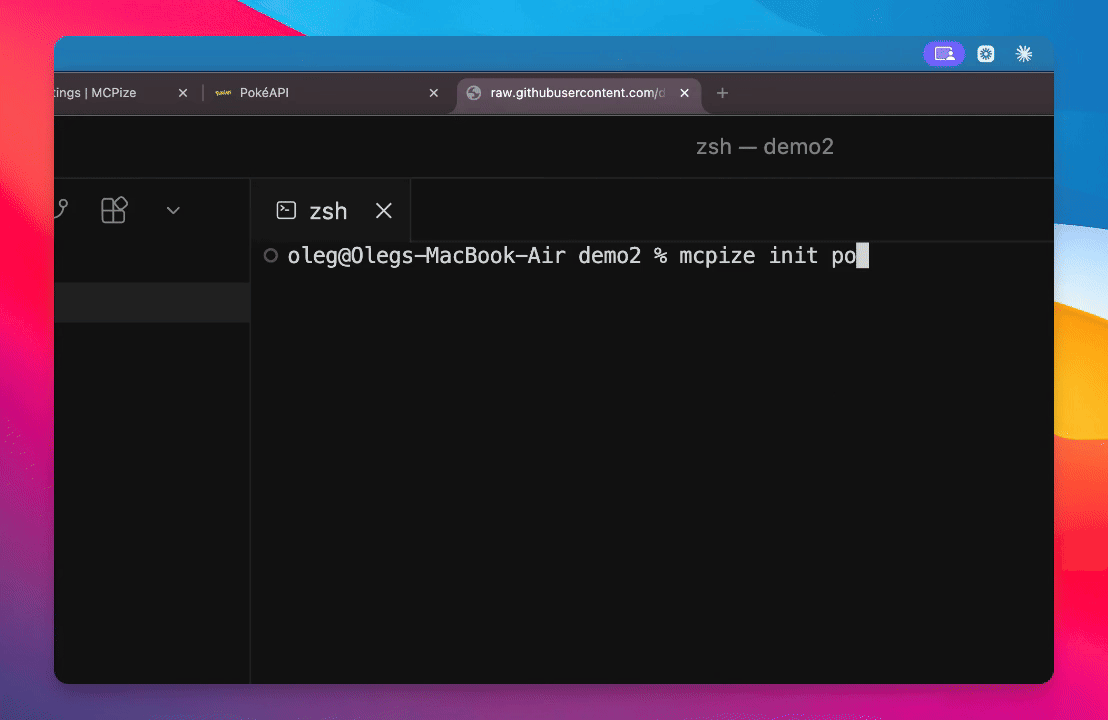
Step 1: Initialize Project
Run mcpize init to start initializing your project.
Step 2: Name the Project
Choose the name Pokemon for your project based on the Poke API.
Step 3: Set Open API Specification
Add a template for typescript open API and include an option from a file.
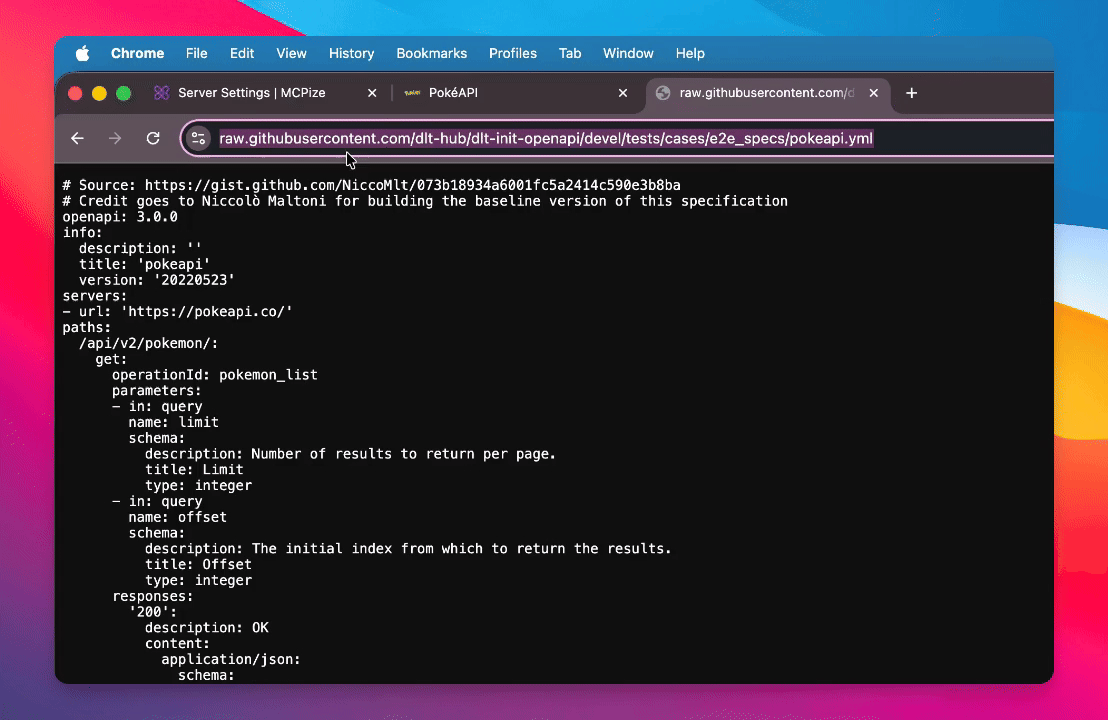
Step 4: Specify the File
Provide the specification file for the Open API.
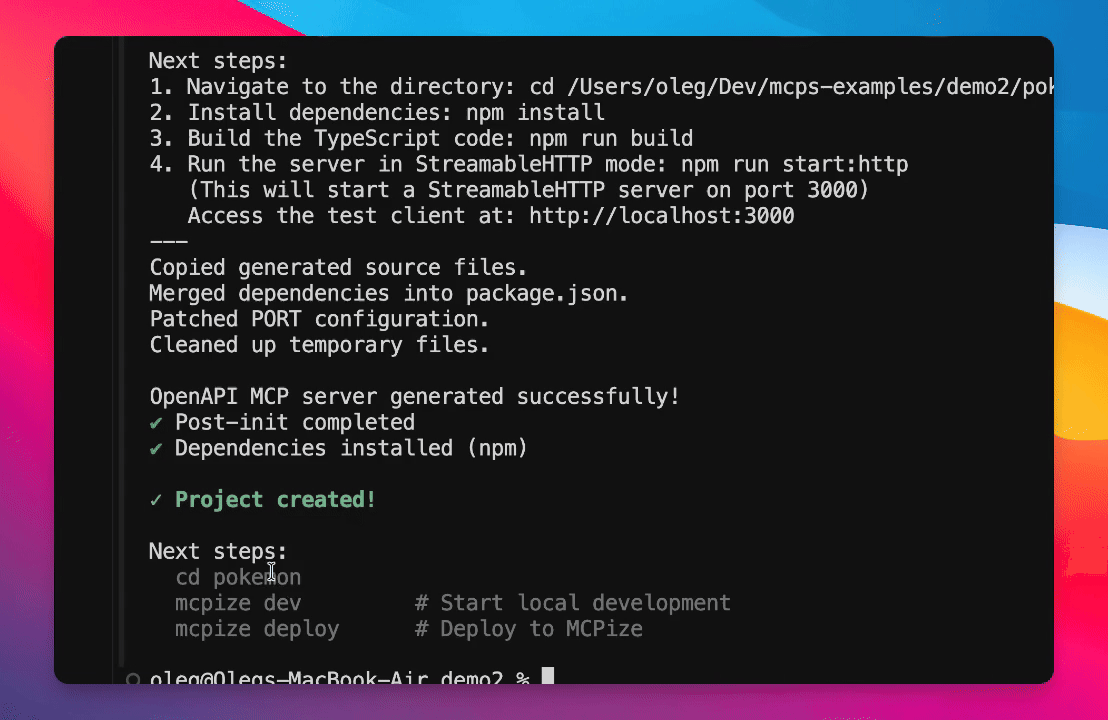
$ mcpize init pokemon --template typescript/openapi --from-file https://raw.githubusercontent.com/dlt-hub/dlt-init-openapi/devel/tests/cases/e2e_specs/pokeapi.ymlStep 5: Analyze Specification
Wait a few seconds while MCPize analyzes the specification to create the project.
Step 6: Project Created
Your project is now created. Navigate to the project directory.
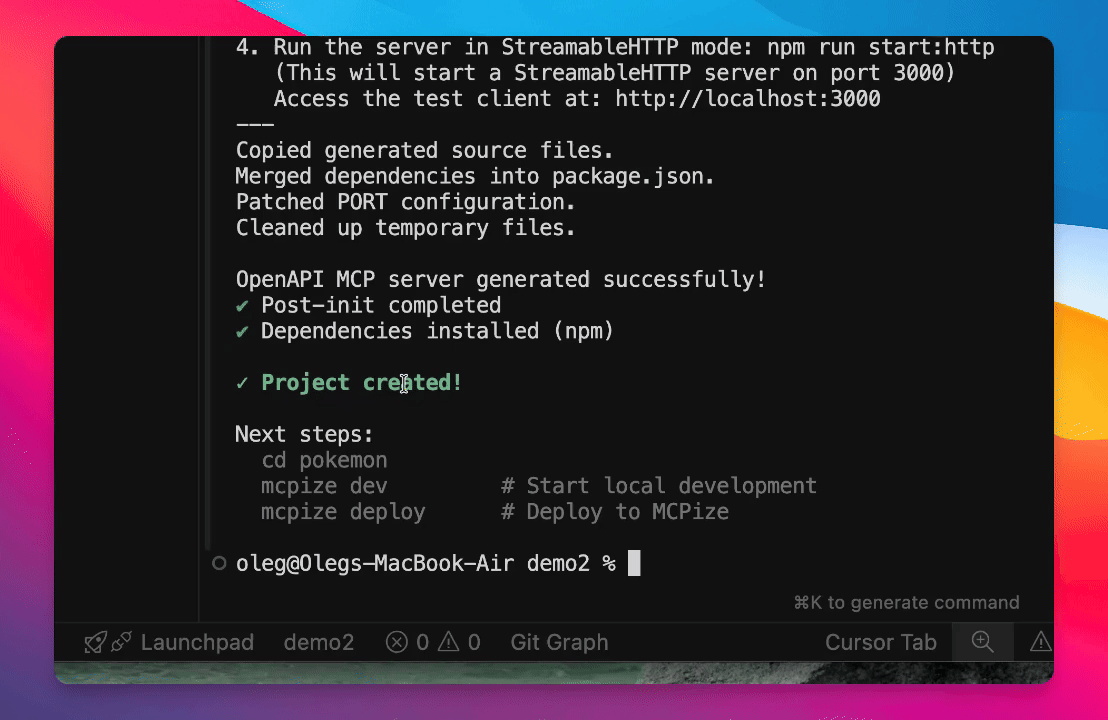
Step 7: Decide Next Steps
Choose whether to check the project locally or edit sources for additional functionality.
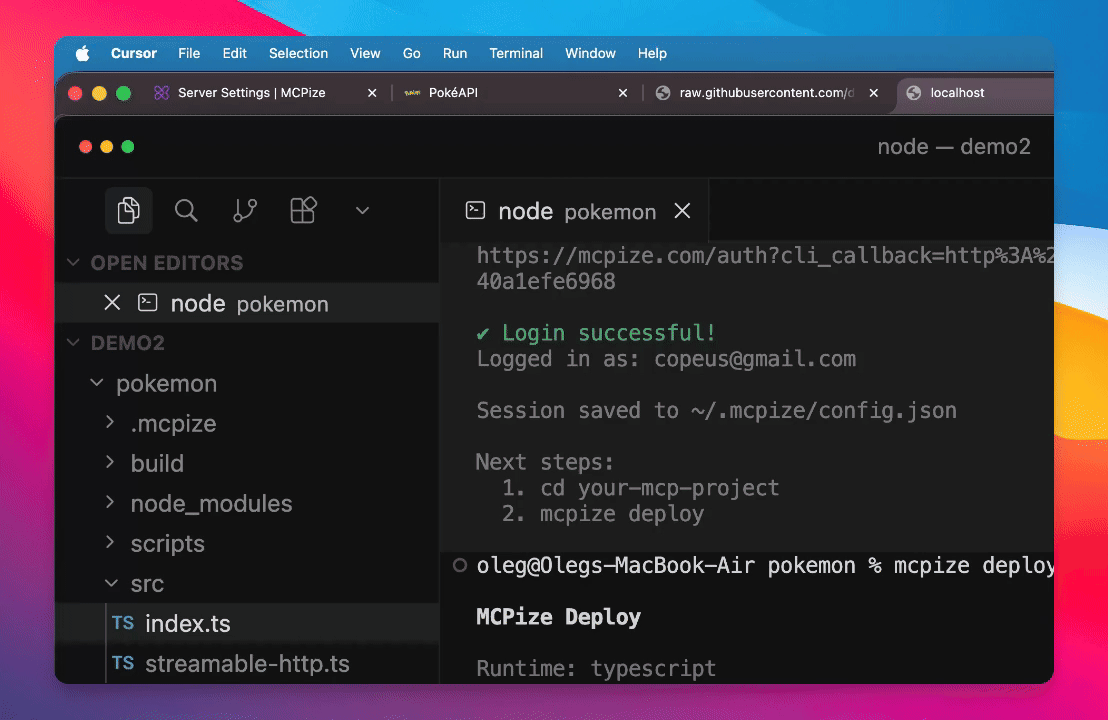
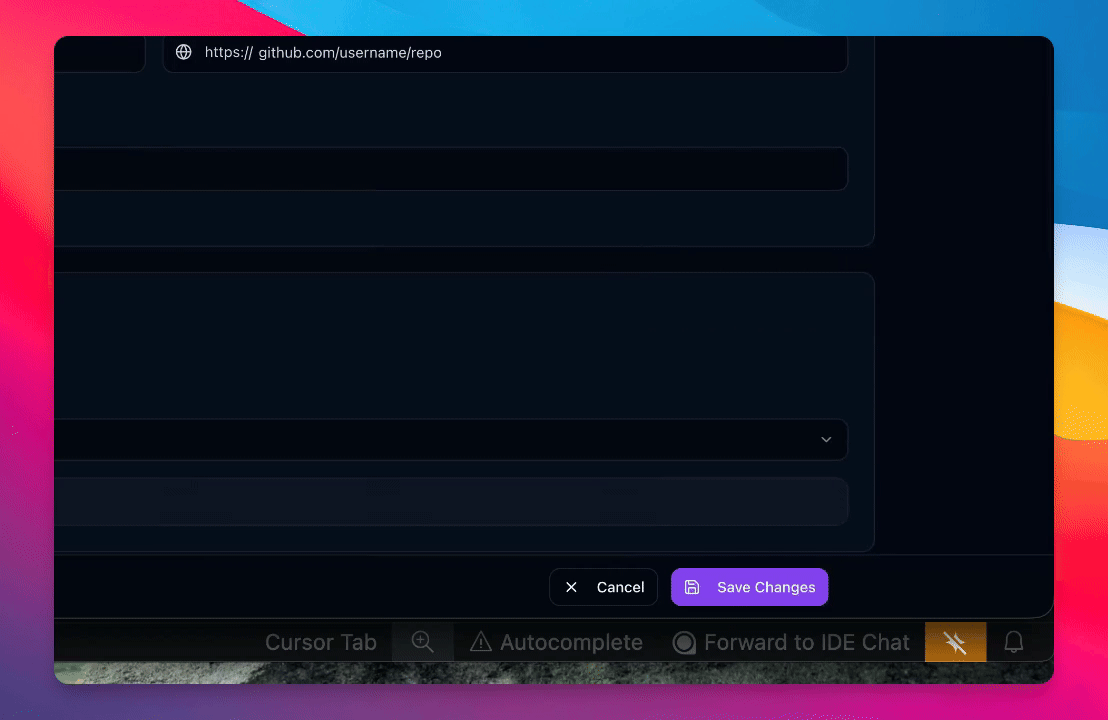
Step 8: Deploy to McPies
Log into McPyse and deploy your server using MCPY deploy.
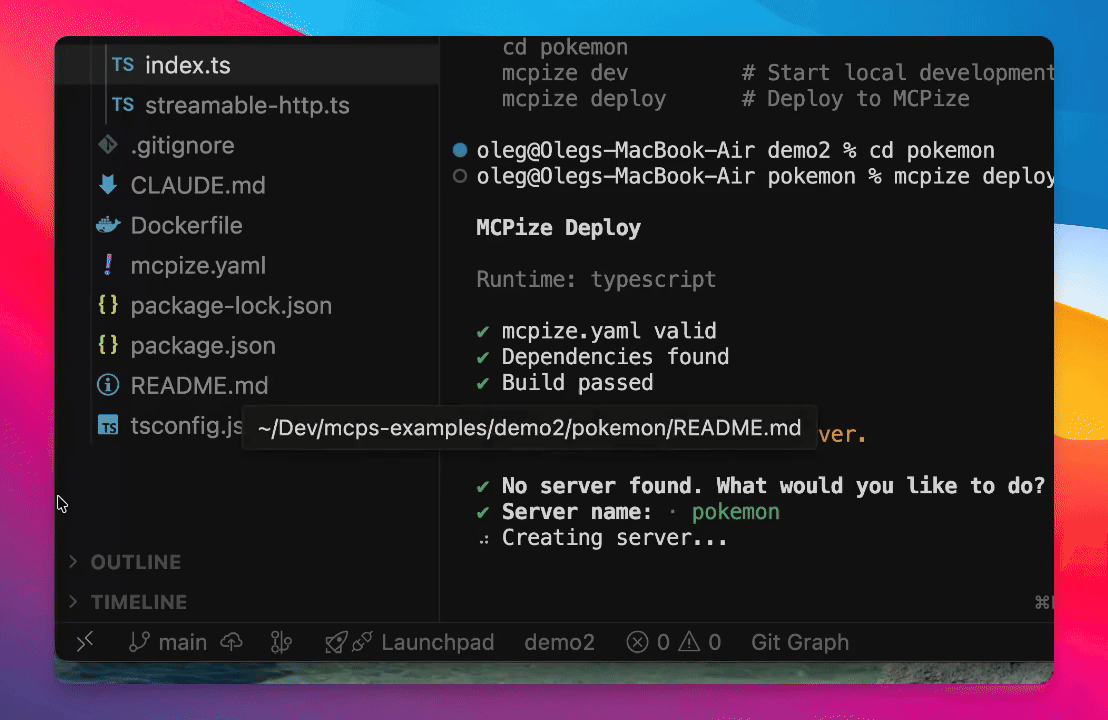
Step 9: Monitor Deployment
Observe the deployment process in the console until it is complete.
Step 10: Customize Server
Enhance your server by adding an icon and choosing a category, such as entertainment.
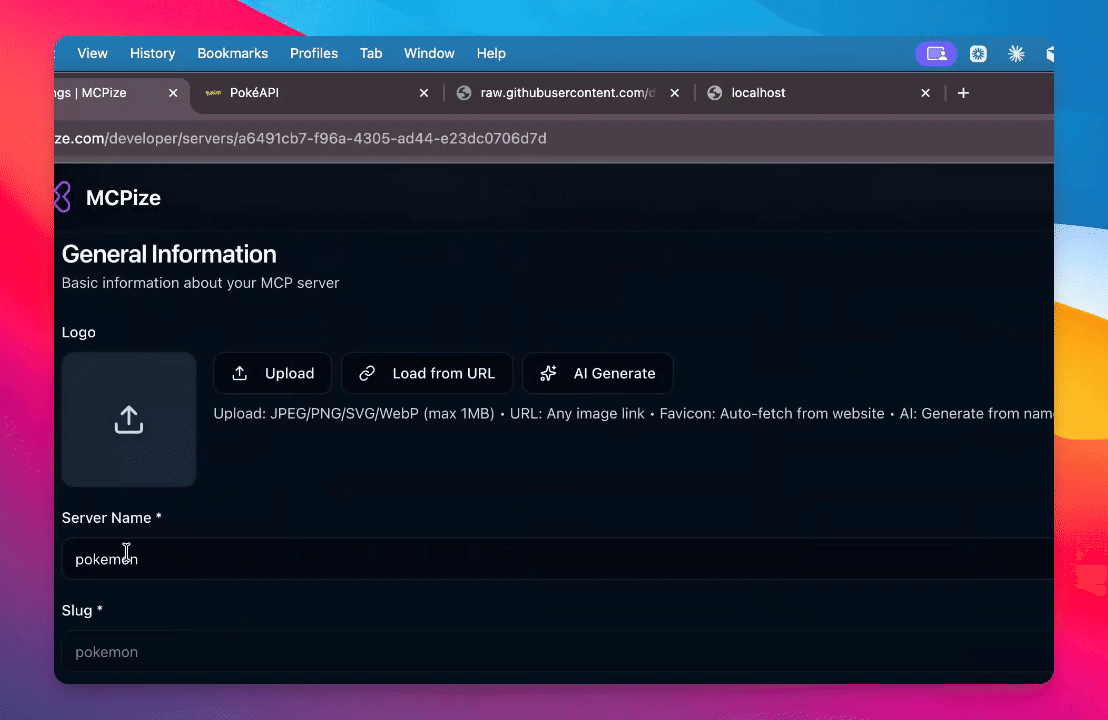
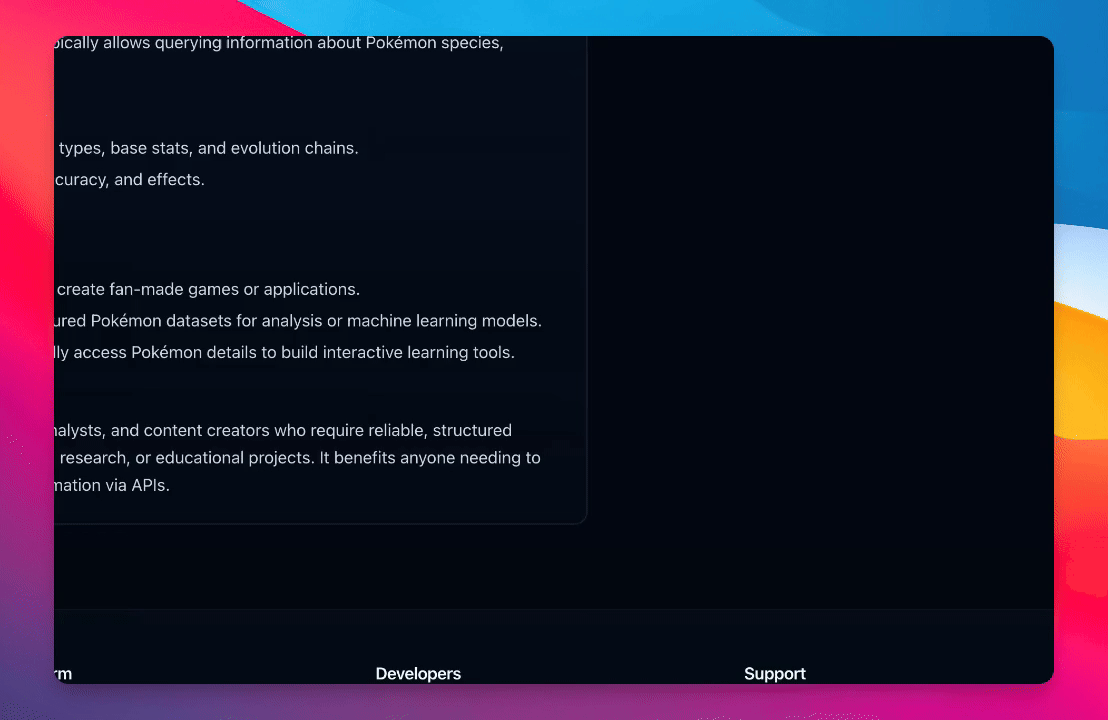
Step 11: Set Server Description
Provide an interesting description for better SEO and visibility.
Step 12: Verify Server Status
Open your server using the shared URL to see the full description and test the API.